Wednesday, February 25, 2015

Double Exposed Portraits


Portrait Photography is usually photos of the person's face, but the background and entire body maybe included. It can also displays that person's expressions and mood of a subject. It is as same as when you are taking family portrait for any special events.  A profile is similar to a portrait photography because their pictures are always of a person's face, the only thing about profile is you can't really see the the face, mood or expression, because you can position anyway you want. A silhouetting is different from two other ones because you can take a picture of person, place or thing. The silhouette is only one color that matches the outline of you subject. It appears in a solid shape. The only thing that portraits, profiles and silhouettes are basically the same because the subject is usually a human.


You created double exposures in Photoshop by starting off with File > Scripts > Load Files into Stack that is the 1st step, I had three photos; 2 textures and a profile 2nd: Crop your photo. Make sure it set to 8.5 * 11" 300 px/in and the edges of farm are equal. 3rd: Use the dodge tool to make sure that your background is completely white, you can also use the paintbrush tool. 4th : Blend your photos together by clicking twice on one of your textures and click on Blend Mode >Screen, doing the same thing with the other one. 5th: To make your photos look majestic, go to Layer> New Adjustment layer, and explore!! Remember to SAVE YOUR WORK!!!!


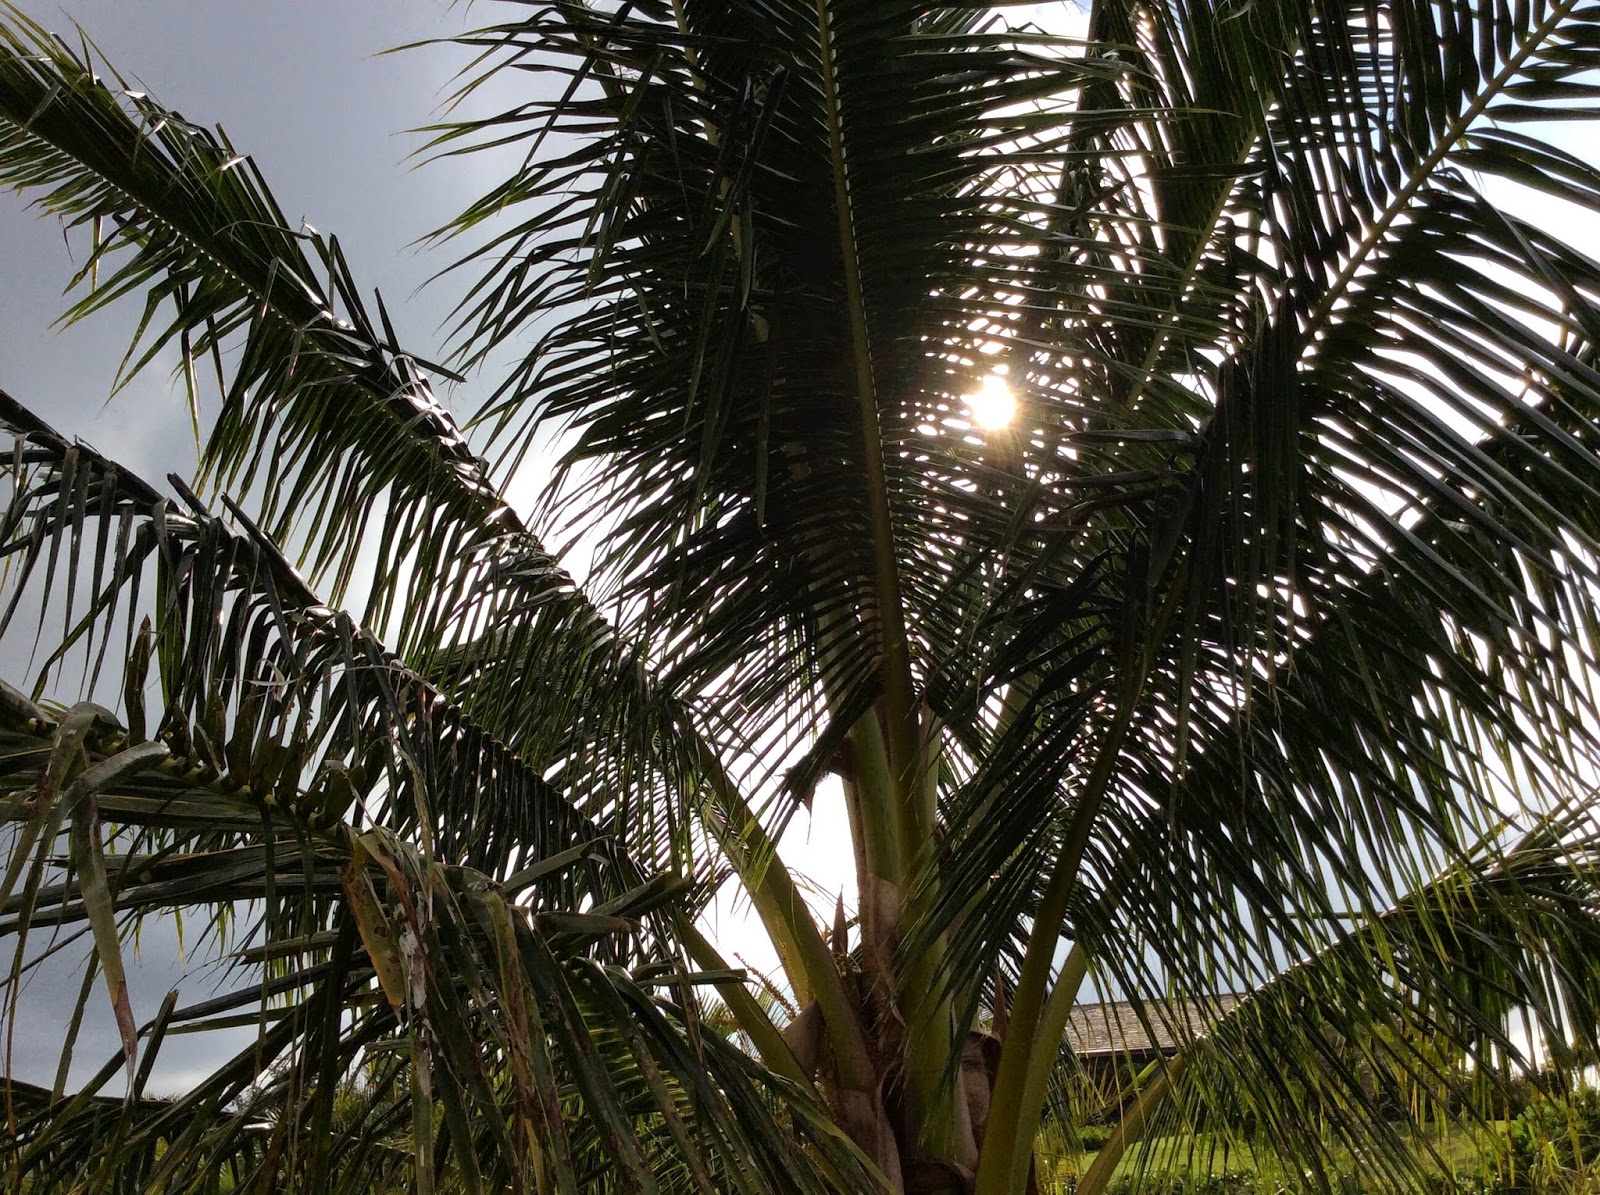
I took a picture of flowers, because I love flowers and their beauty. I also love palm trees because they make me feel peaceful and they make Hawaii becomes more beautiful, especially when there's sunset.  Everyone is like a flower, different and has their own beauty, that is what so unique! I love how I used curves, saturation and gradients to make my final picture ''stand out'' more. I learned it from my practice photo. I think my palm trees could be improved because you can barely see them. At first, I thought this project is complicated but when you get into it more, it gets easier, and you will be in LOVE with it!!


Practice

Final Work!!


  1.    

Monday, February 9, 2015

HDR Photography


HDR means High Dynamic Range, it creates photos with gorgeous, impossible detail and clarity. Also, instead of taking one photo, HDR uses three photos, taken with different exposure, they can combine all of the dark and light side in a photo and make a new photo with a balance lightning. It used for when you took a really nice photo but the lightning is bad. I really like this setting, it might takes a long time to combine all the lightning together to give you a great photo, but it is worth it, trust me!

To create an HDR image step-by-step, you open Photoshop, go to file, automate and then click on merge with HDR pro. A chart will show up, click on browse to find the images that you took, then drag all of them to put into that chart, when you did that it will take awhile to load, because Photoshop is using its ''brain'' to work hard. You will see a lot of options on the right hand side when Photoshop is done with its job. Yes, it is totally different from the automatic HDR functions! You can edit however you want in Photoshop but the automatic one it just makes the lightning balance.

I took a landscape picture of a look out in my property. I wanted to show everyone some of the beauty things around them. I can't still believe that I am living on a beautiful island with so many amazing things surround it. For the portrait, I took a picture of my mom, I should have told her to not put her hand on the coconut tree so it would make it easier for me to put her in with the landscape photo without cutting her hand off! Anyway, if I get to do it again next time, it would be better, I learned a lesson ;).